OBS Studio - Open Broadcaster Software is a free and open-source software for video streaming, you can start live streaming via OBS studio with just a few clicks. After you have created a live event in Moment CMS, you can start editing OBS settings. Refer to Create a live event for more details.
Follow steps below to complete OBS settings.
1. Go to OBS Project website to download the appropriate OBS studio version for your operating system.
2. After opening OBS on your desktop, navigate to the lower right on the console and click "Settings"

3. Navigate to "Stream" in the left menu bar to edit live stream settings and click "OK" on the bottom right to save.
- Service: choose Custom
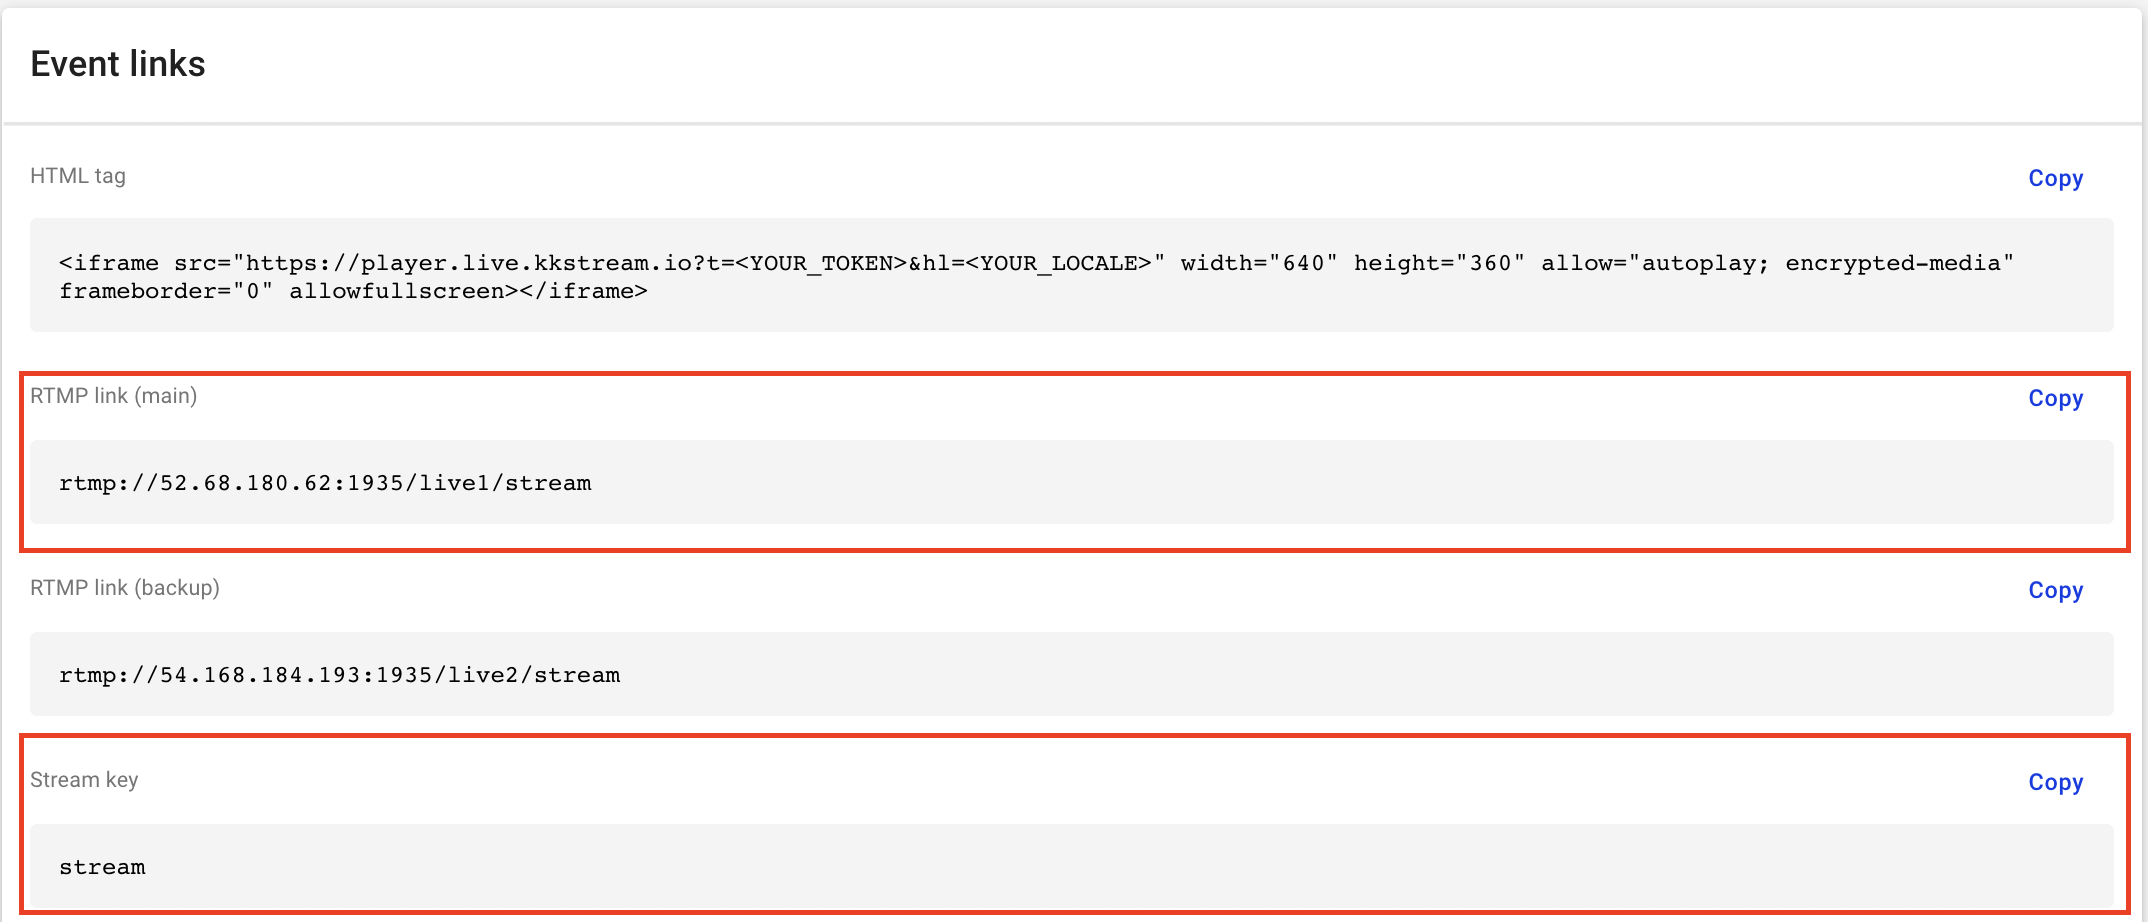
- Server: input the main RTMP Link from the event you created in Moment CMS.
- Stream Key: input stream key from the event you created in Moment CMS.

4. Navigate to "Output" in the left menu bar to edit output settings and click "OK" on the bottom right to save. To achieve ultra-low latency live streaming, there are more limitations on the input signal format compared to low latency, please follow the instructions below to adjust the output according to your needs for live streaming latency.
Output settings for low latency live streaming
- Output mode: Simple
Streaming :
- Video Bitrate: 5000 Kbps
- Encoder: Software (x264)
- Audio Bitrate: 320

Output settings for ultra-low latency live streaming
- Output mode: Advanced
Streaming :
- Rate Control: CBR
- Bitrate: The setting should be dependent on the upload bandwidth of the OBS side, the ideal network speed should be faster than 20Mb.
- Keyframe interval: 2
- For not using B-frame options for the video codec.
- CPU: ultrafast
- If the CPU usage is too high to affect encoding performance, please try to use the hardware encoder for better performance if it exists.
- Profile: (None)
- Tune: zerolatency

If the CPU usage is too high to affect encoding performance, please try to use the hardware encoder for better performance if it exists. Remember not to use the B-frame option for the video CODEC.

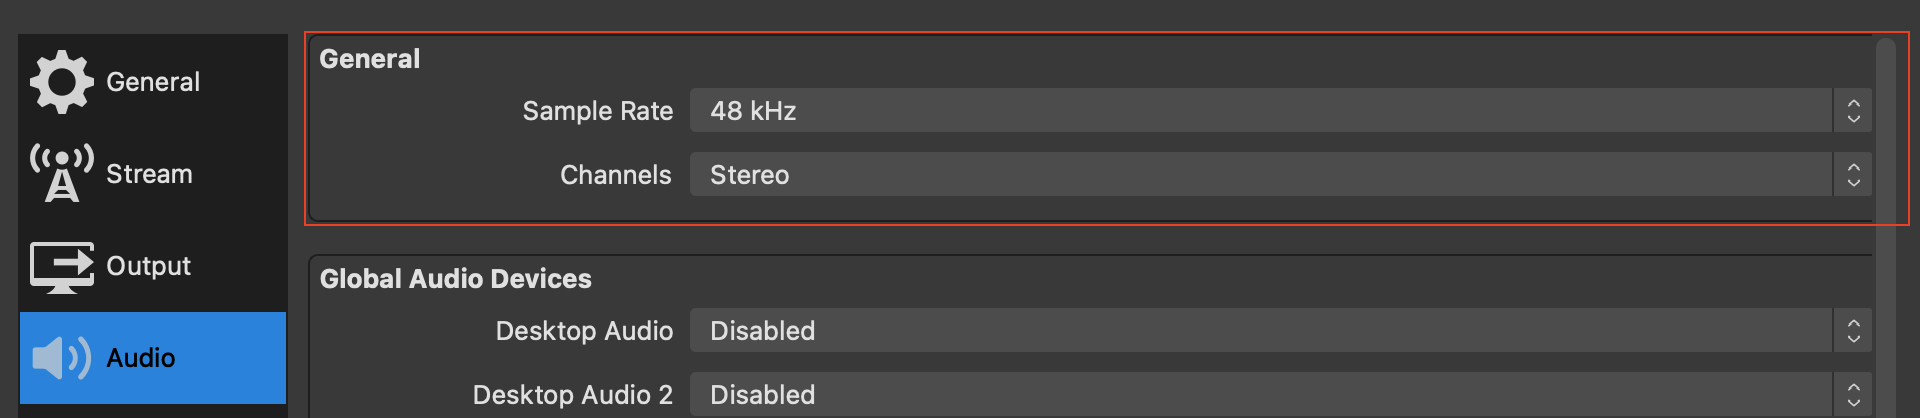
5. Navigate to "Audio" in the left menu bar to edit audio settings and click "OK" on the bottom right to save.
General :
- Sample Rate: 48 kHz
- Channels: Stereo
6. Navigate to "Video" in the left menu bar to edit video settings and click "OK" on the bottom right to save. To achieve ultra-low latency live streaming, there are more limitations on the input signal format compared to low latency, please follow the instructions below to adjust the Video according to your needs for live streaming latency.
Video settings for low latency live streaming
- Base Resolution : 1920 x 1080
- Output Resolution : 1920 x 1080
- Downscale Filter : Bicubic
- Common FPS Values : 30
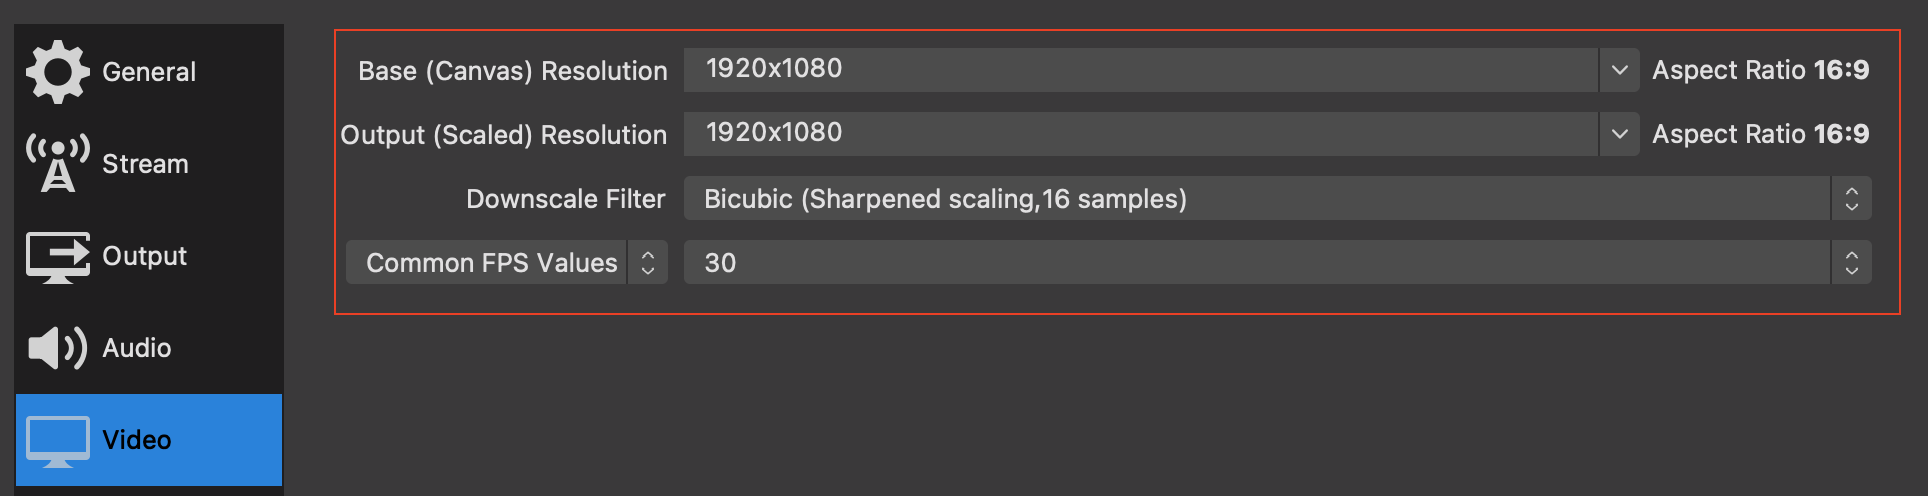
Video settings for ultra-low latency live streaming
- Base Resolution : 1920 x 1080
- Output Resolution : 1920 x 1080
- Downscale Filter : Bilinear
- Common FPS Values : 30

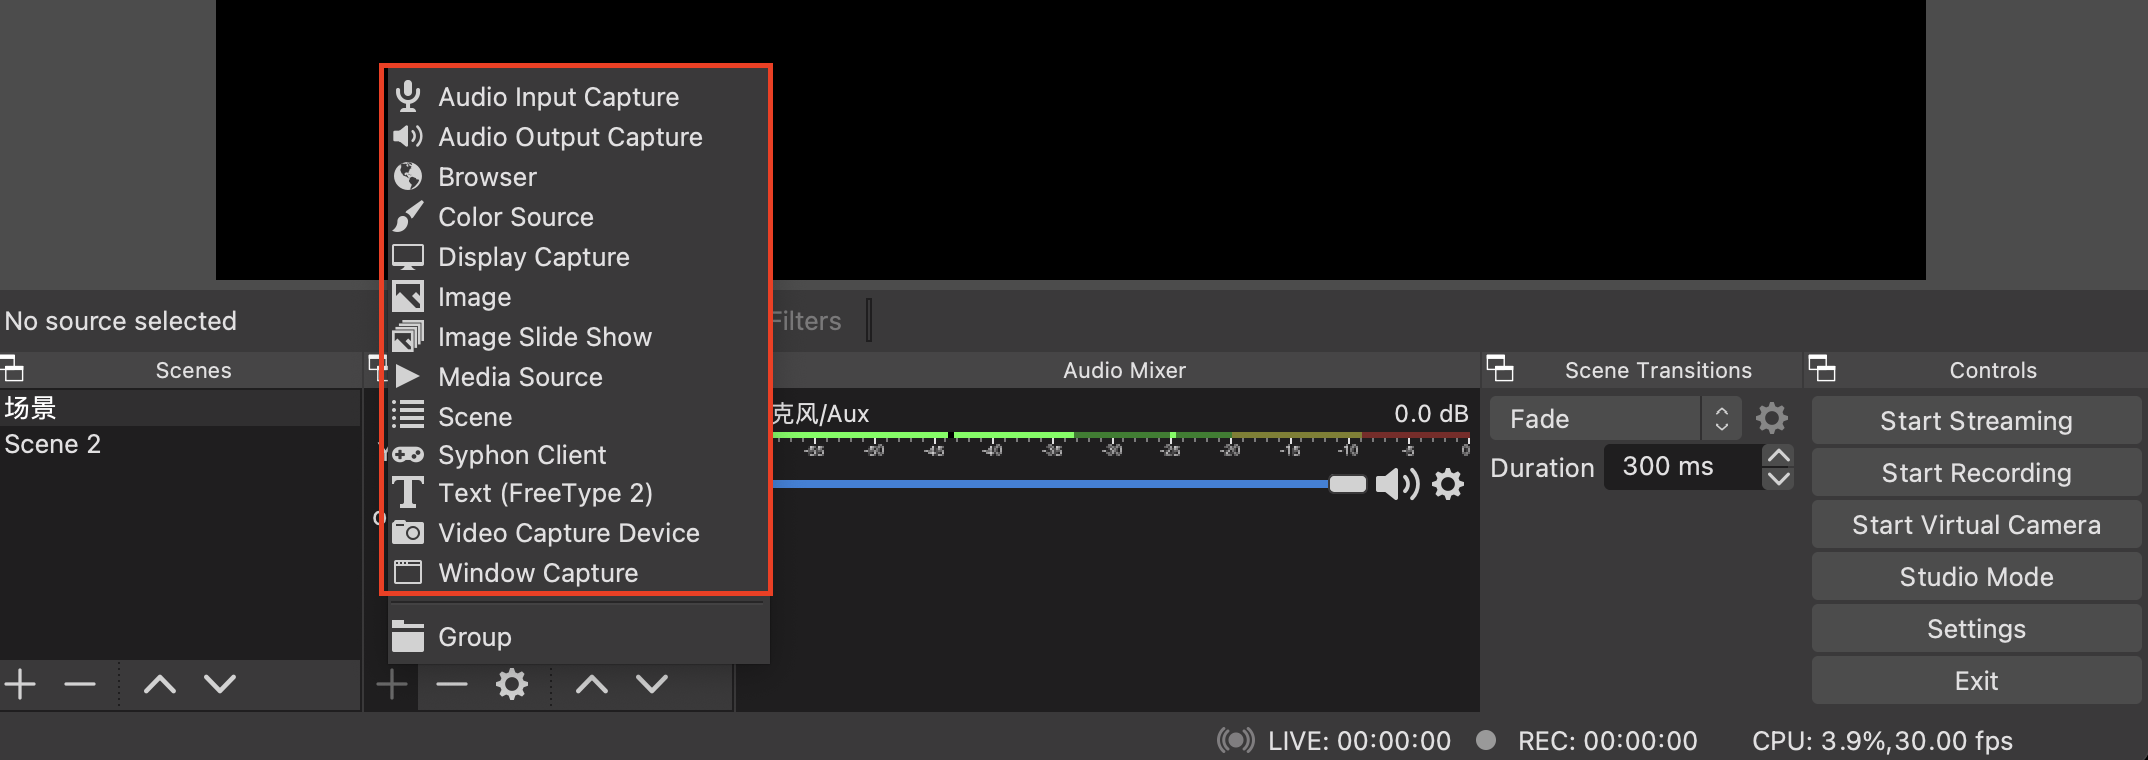
7. Once you have completed the above settings, return to console to choose your live stream source.
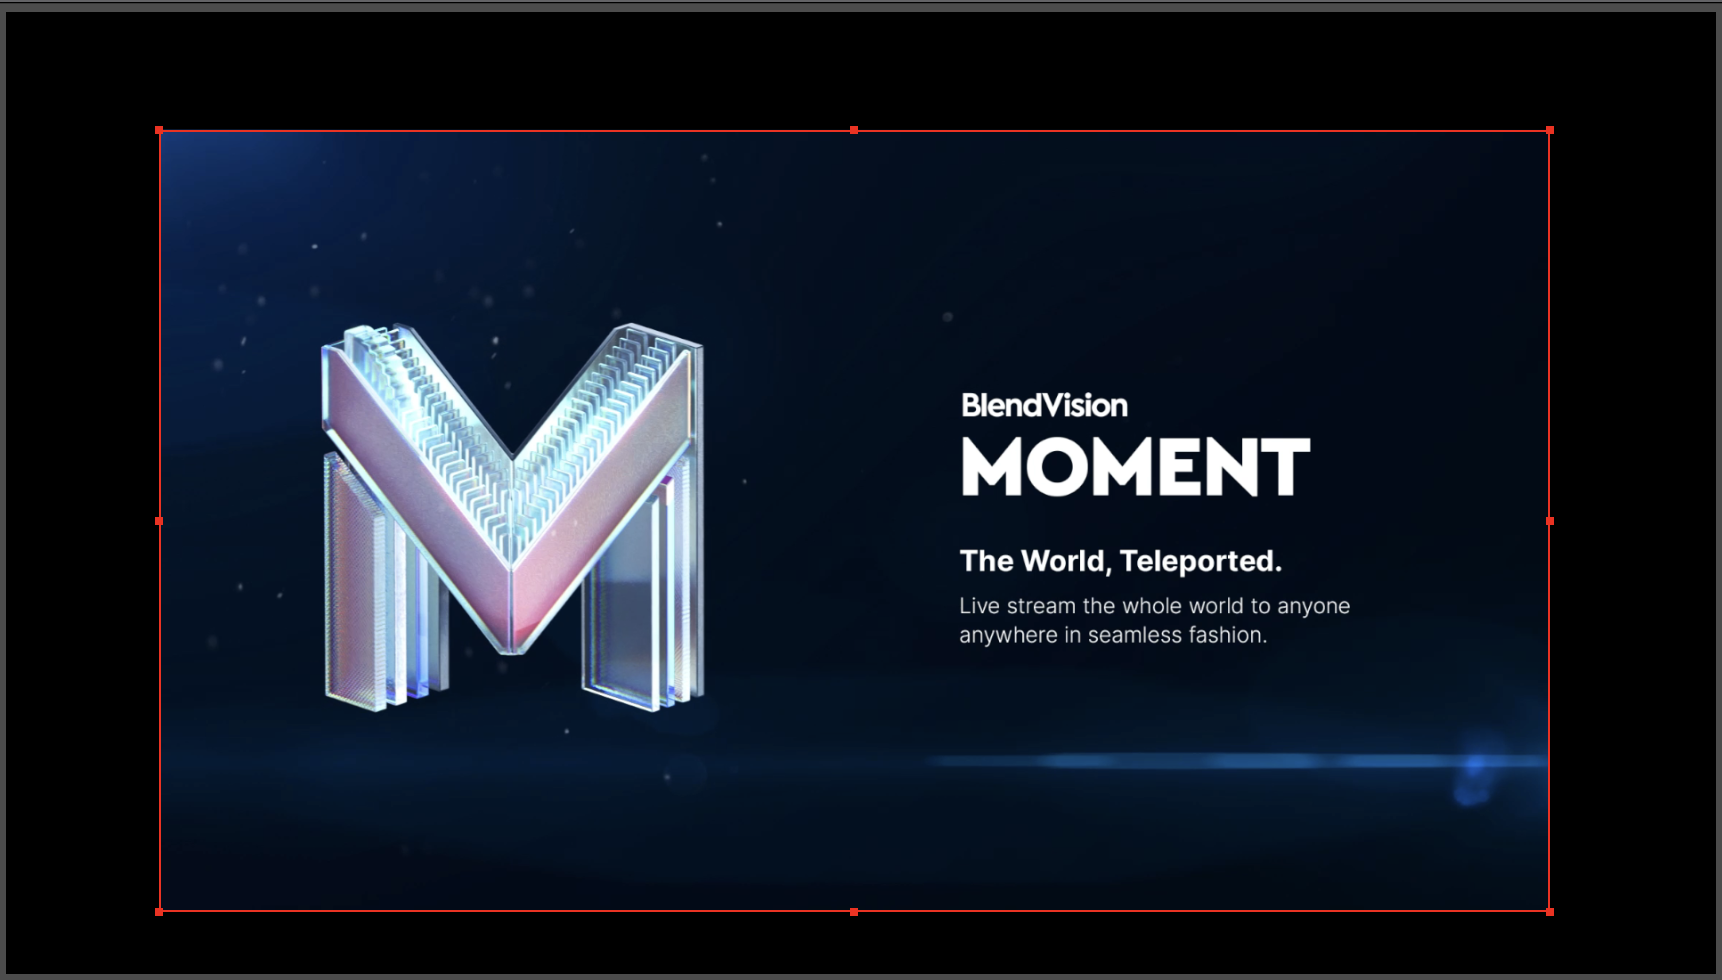
8. Captured frame will be displayed in the console, drag the red edges bounding the frame to position and make the frame large or smaller.
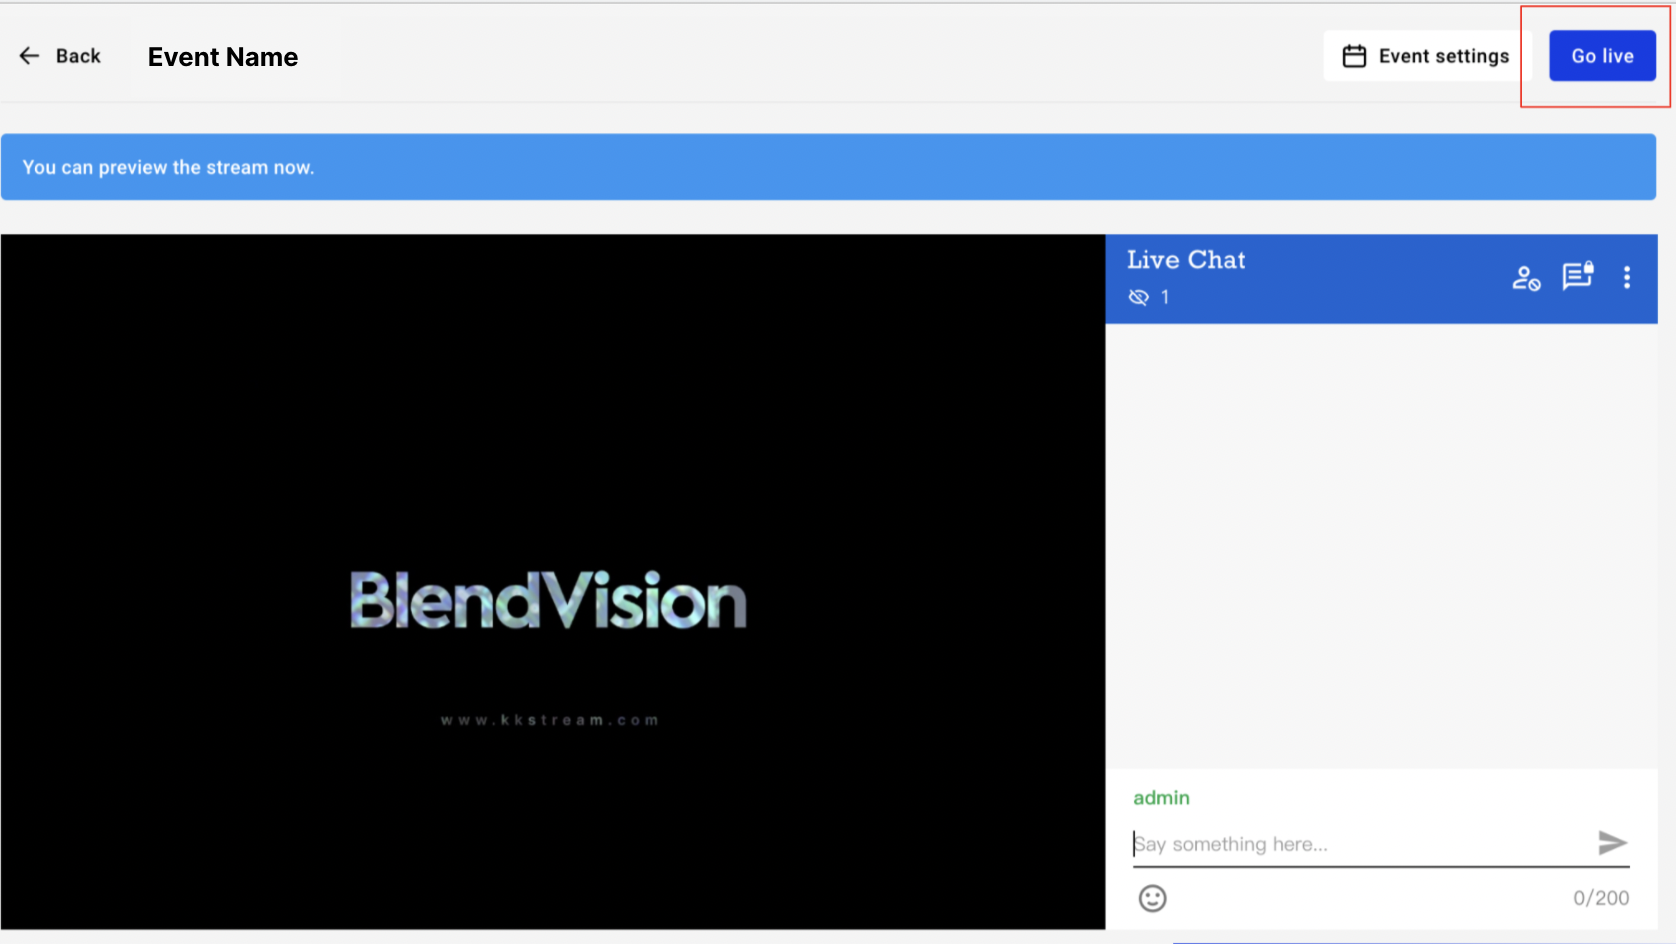
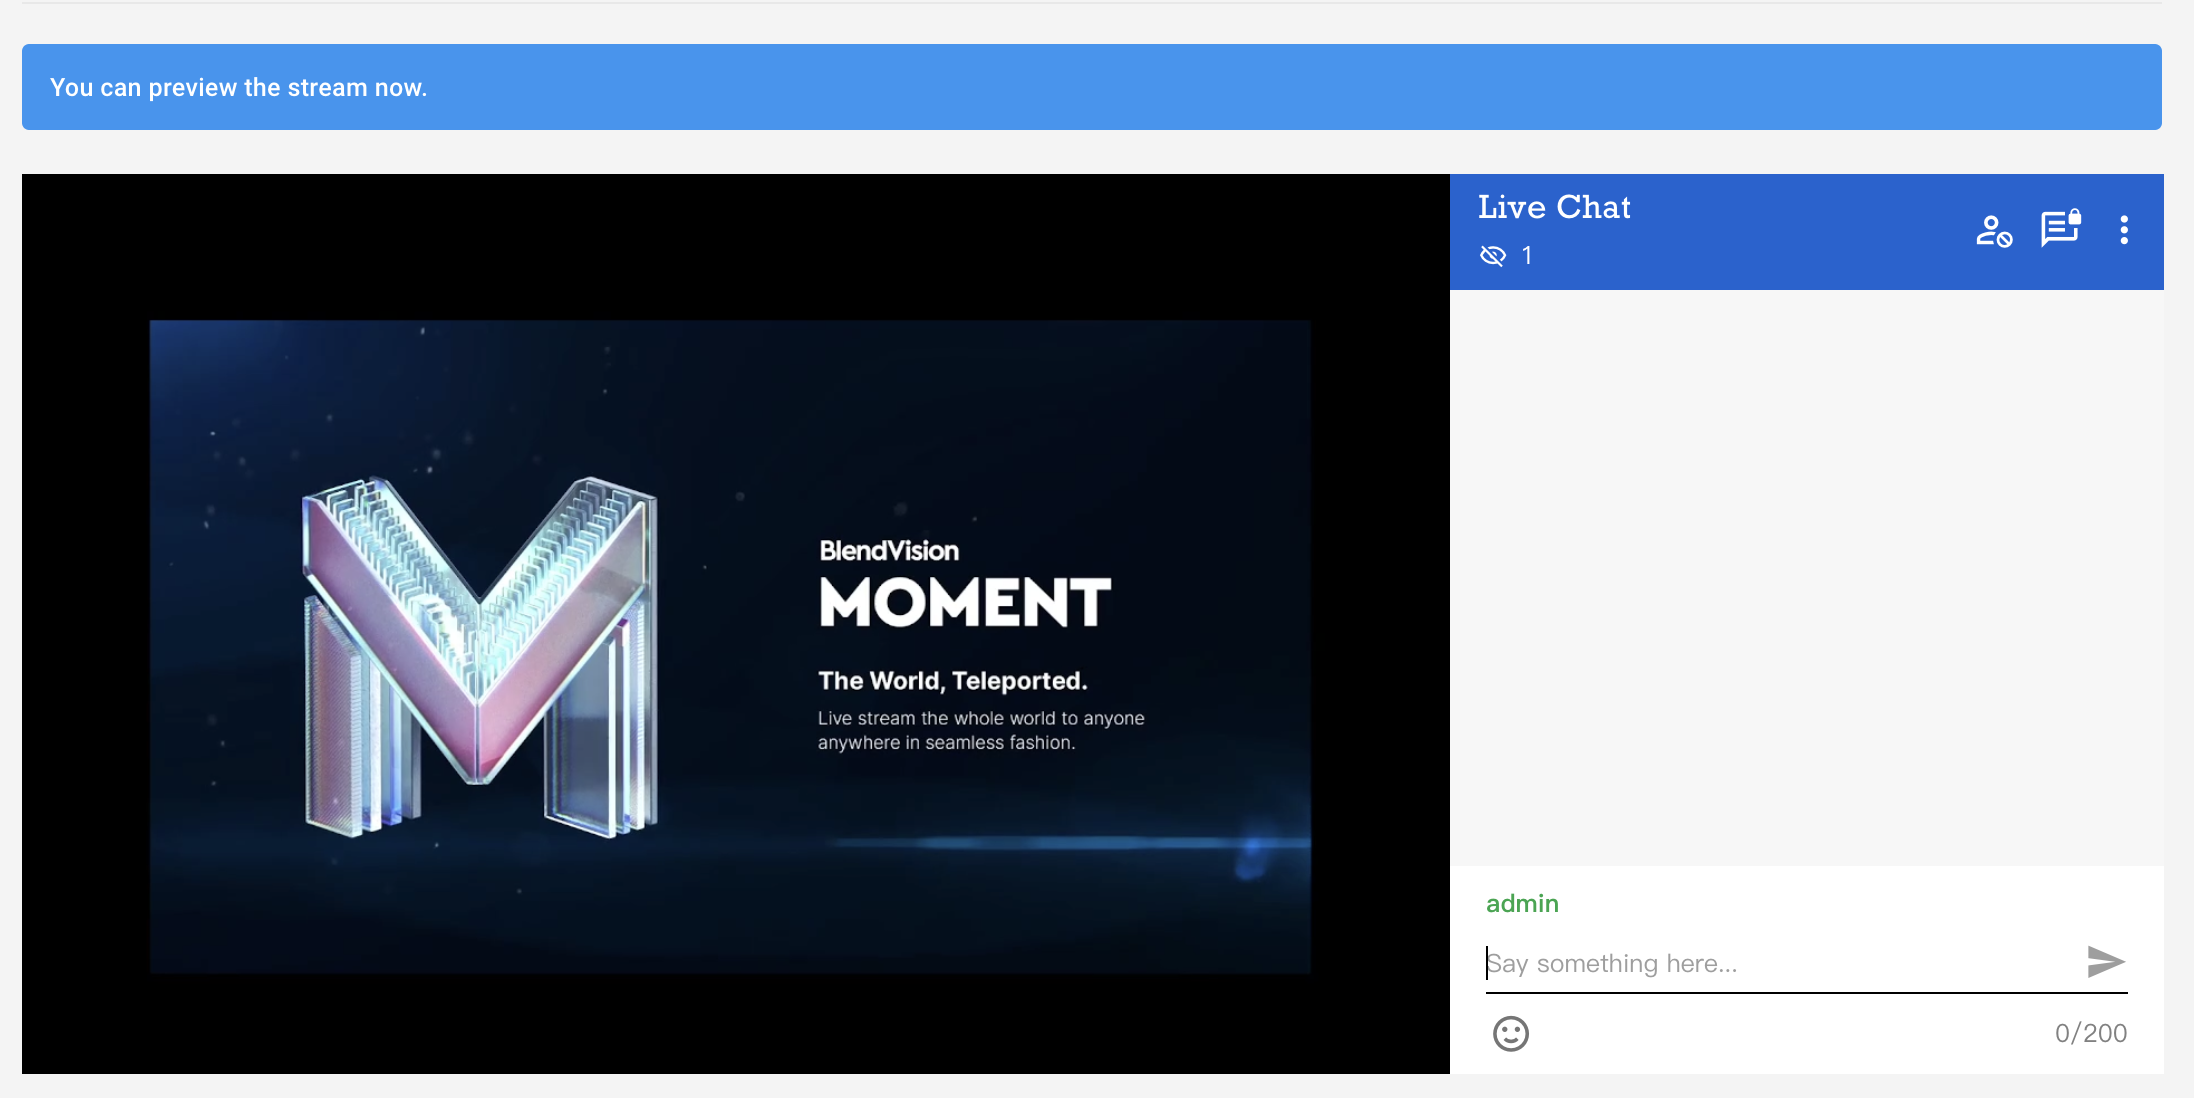
9. Once you are ready, click "Preview stream" in Moment control room in the upper right corner.

10. Then click "Start Streaming" in OBS console.

11. Preview your live stream from Moment CMS control room.
12. Once you are ready to go live, click "Go live" in Moment CMS control room in the upper right corner and start live streaming to your audience.