Simulive live mode enables you to record and edit videos in advance and stream it on a specific day and time as a live session with live interaction tools such as chat and poll.
The audience can only view real-time video progress as the video is being streamed and the audience cannot drag the progress bar to rewind or fast forward the video.
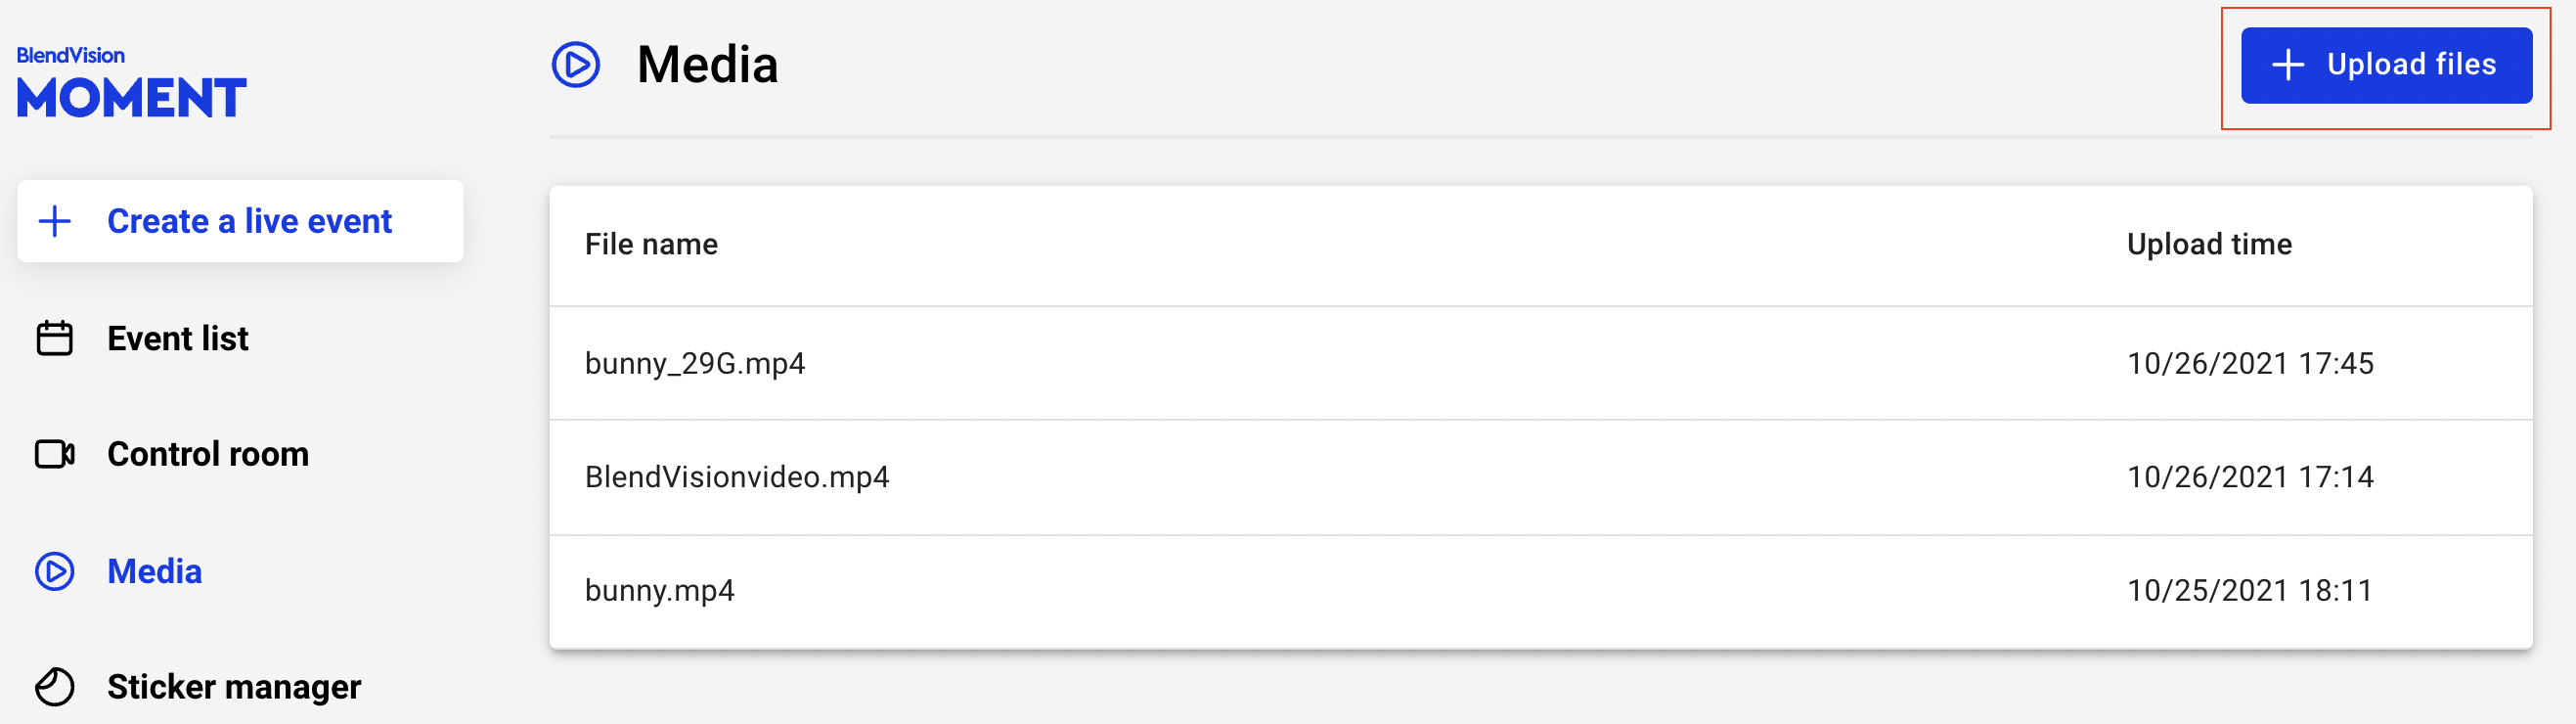
1. Prepare video and upload it to "Media" first
Media management is video storage. Once you have uploaded videos successfully, every time you create a simulive event, you no longer need to re-upload the video, just select the video you want to live stream when creating an event.
| Video format limitation for upload | |
| Video format | mp4 |
| File size | 30GB max. |
| Video codec | H.264 only |
| Video bitrate |
|
| Video framerate | 30 FPS |
| Resolution ratio | 16:9* |
| Picture structure | Progressive |
| Audio codec | AAC-LC |
| Audio bitrate | stereo 384kbps |
* The recommended resolution ratio of the source for a simulive event is 16:9. For example, if the expected width of input is 1920 px, then we would suggest the height of input to be 1080 px, even though the 4:3(1920*1440) ratio is somehow acceptable, the picture will be distorted. The other ratios are not supported in Moment.
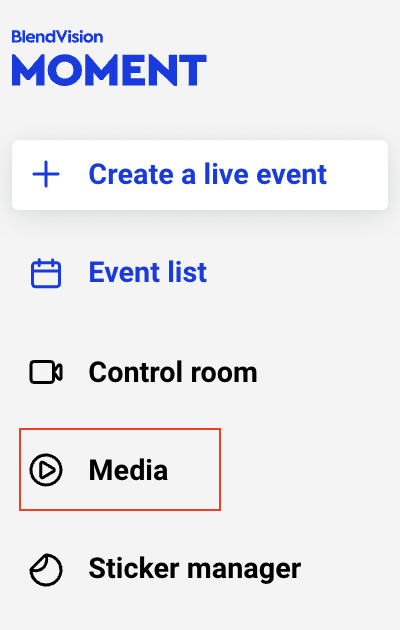
2. Click "Media" on the left side menu
3. Click "Upload files" in the upper right corner.
4. Select or drag your file to Media
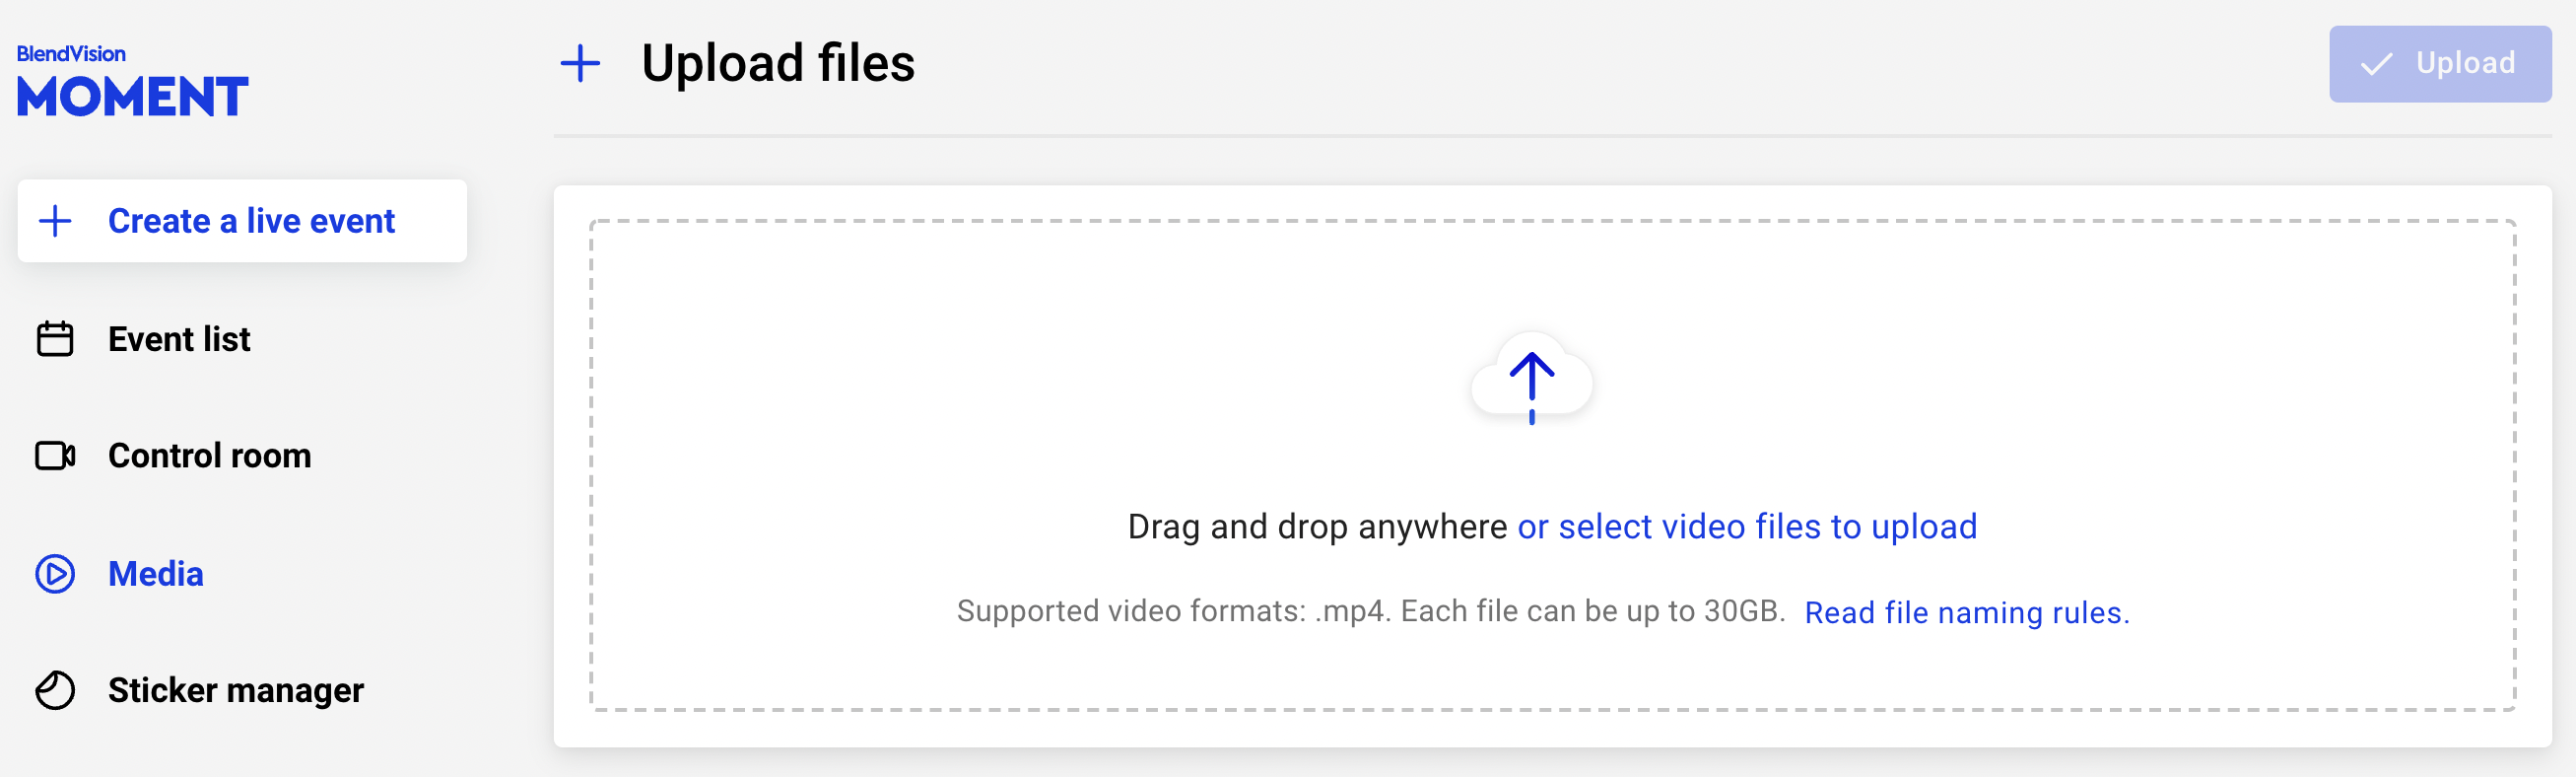
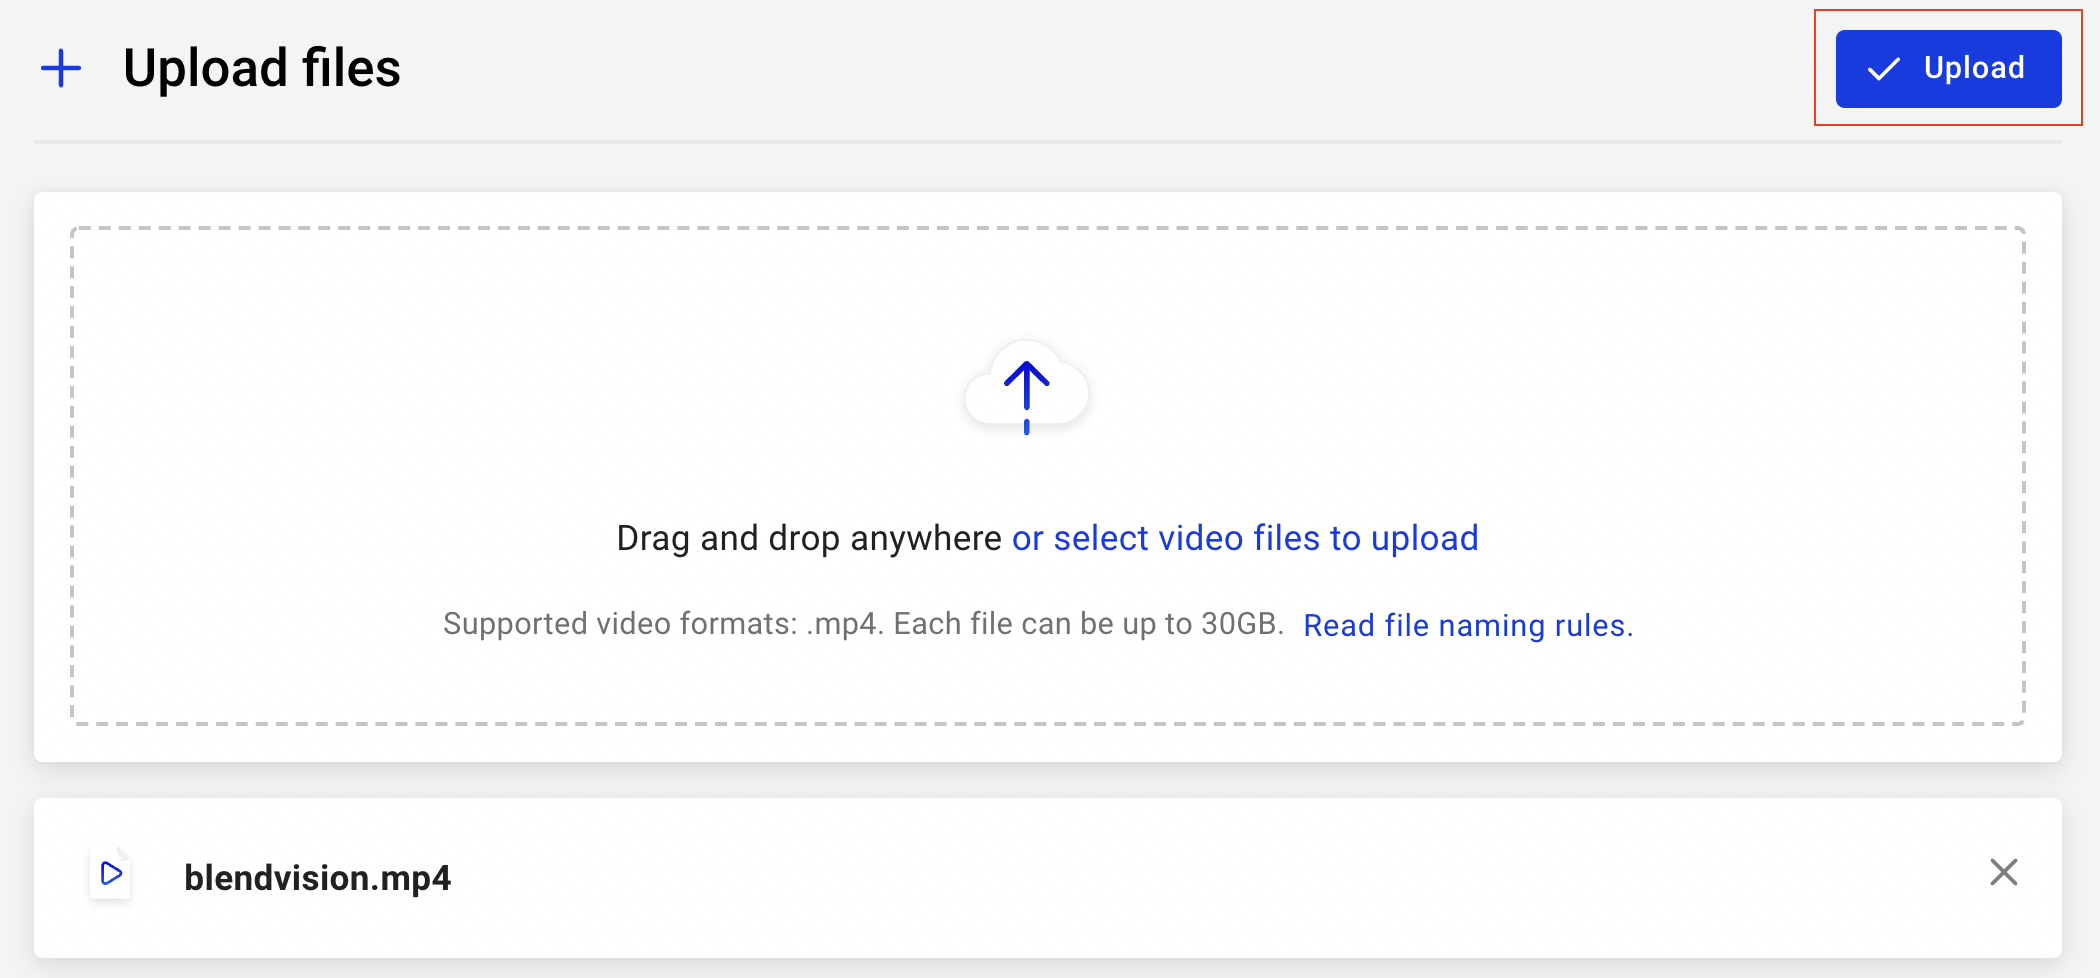
5. Click "Upload" after selecting the file
- There is an upload panel in the lower right corner that displays the upload status. The video upload duration depends on your internet speed. We don't limit the upload speed.

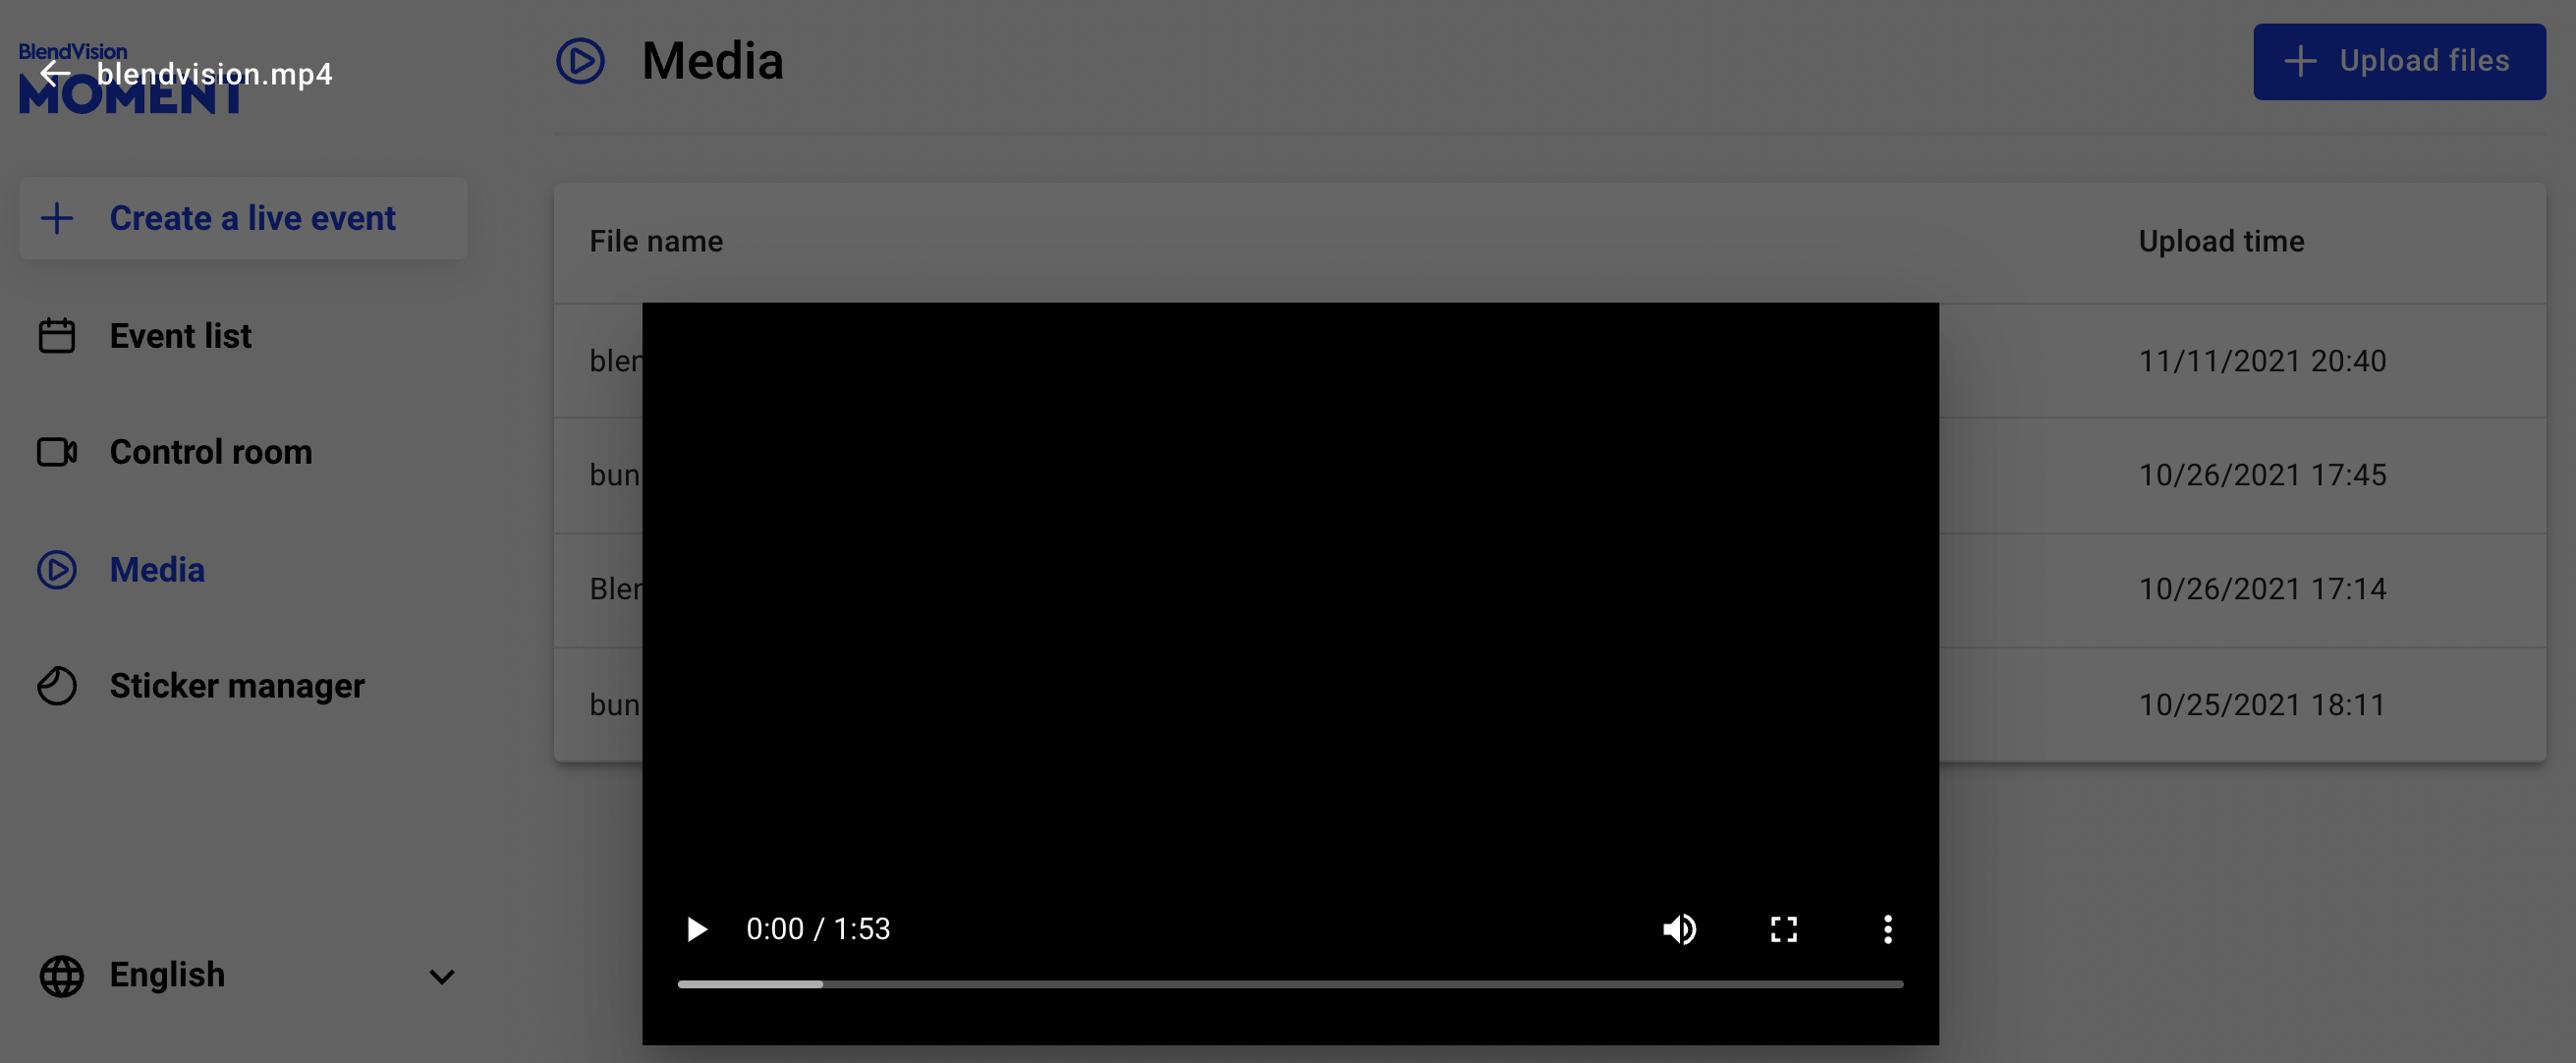
Preview your video has correctly uploaded.
- Click the file name to preview the video to check if it is the correct file.
- Drag the progress bar to confirm the whole video.
Once you have uploaded the video, continue to create a simulive event.
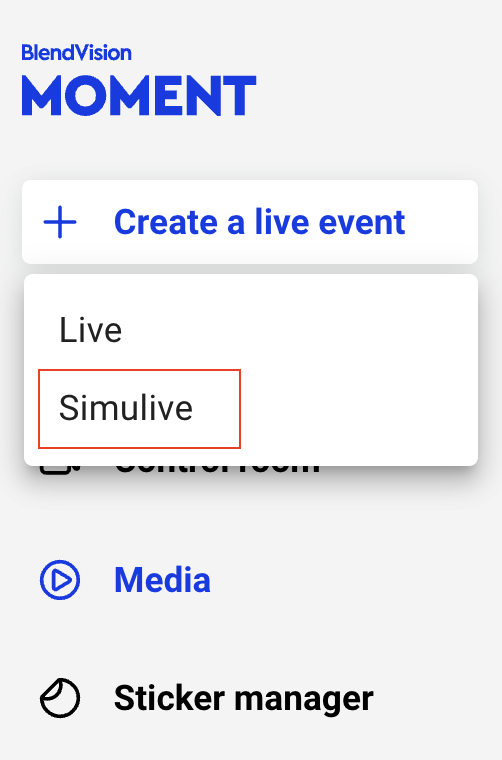
6. Click "Create a live event" on the upper left corner, select "Simulive"
7. Under Event mode, select "Live Mode"
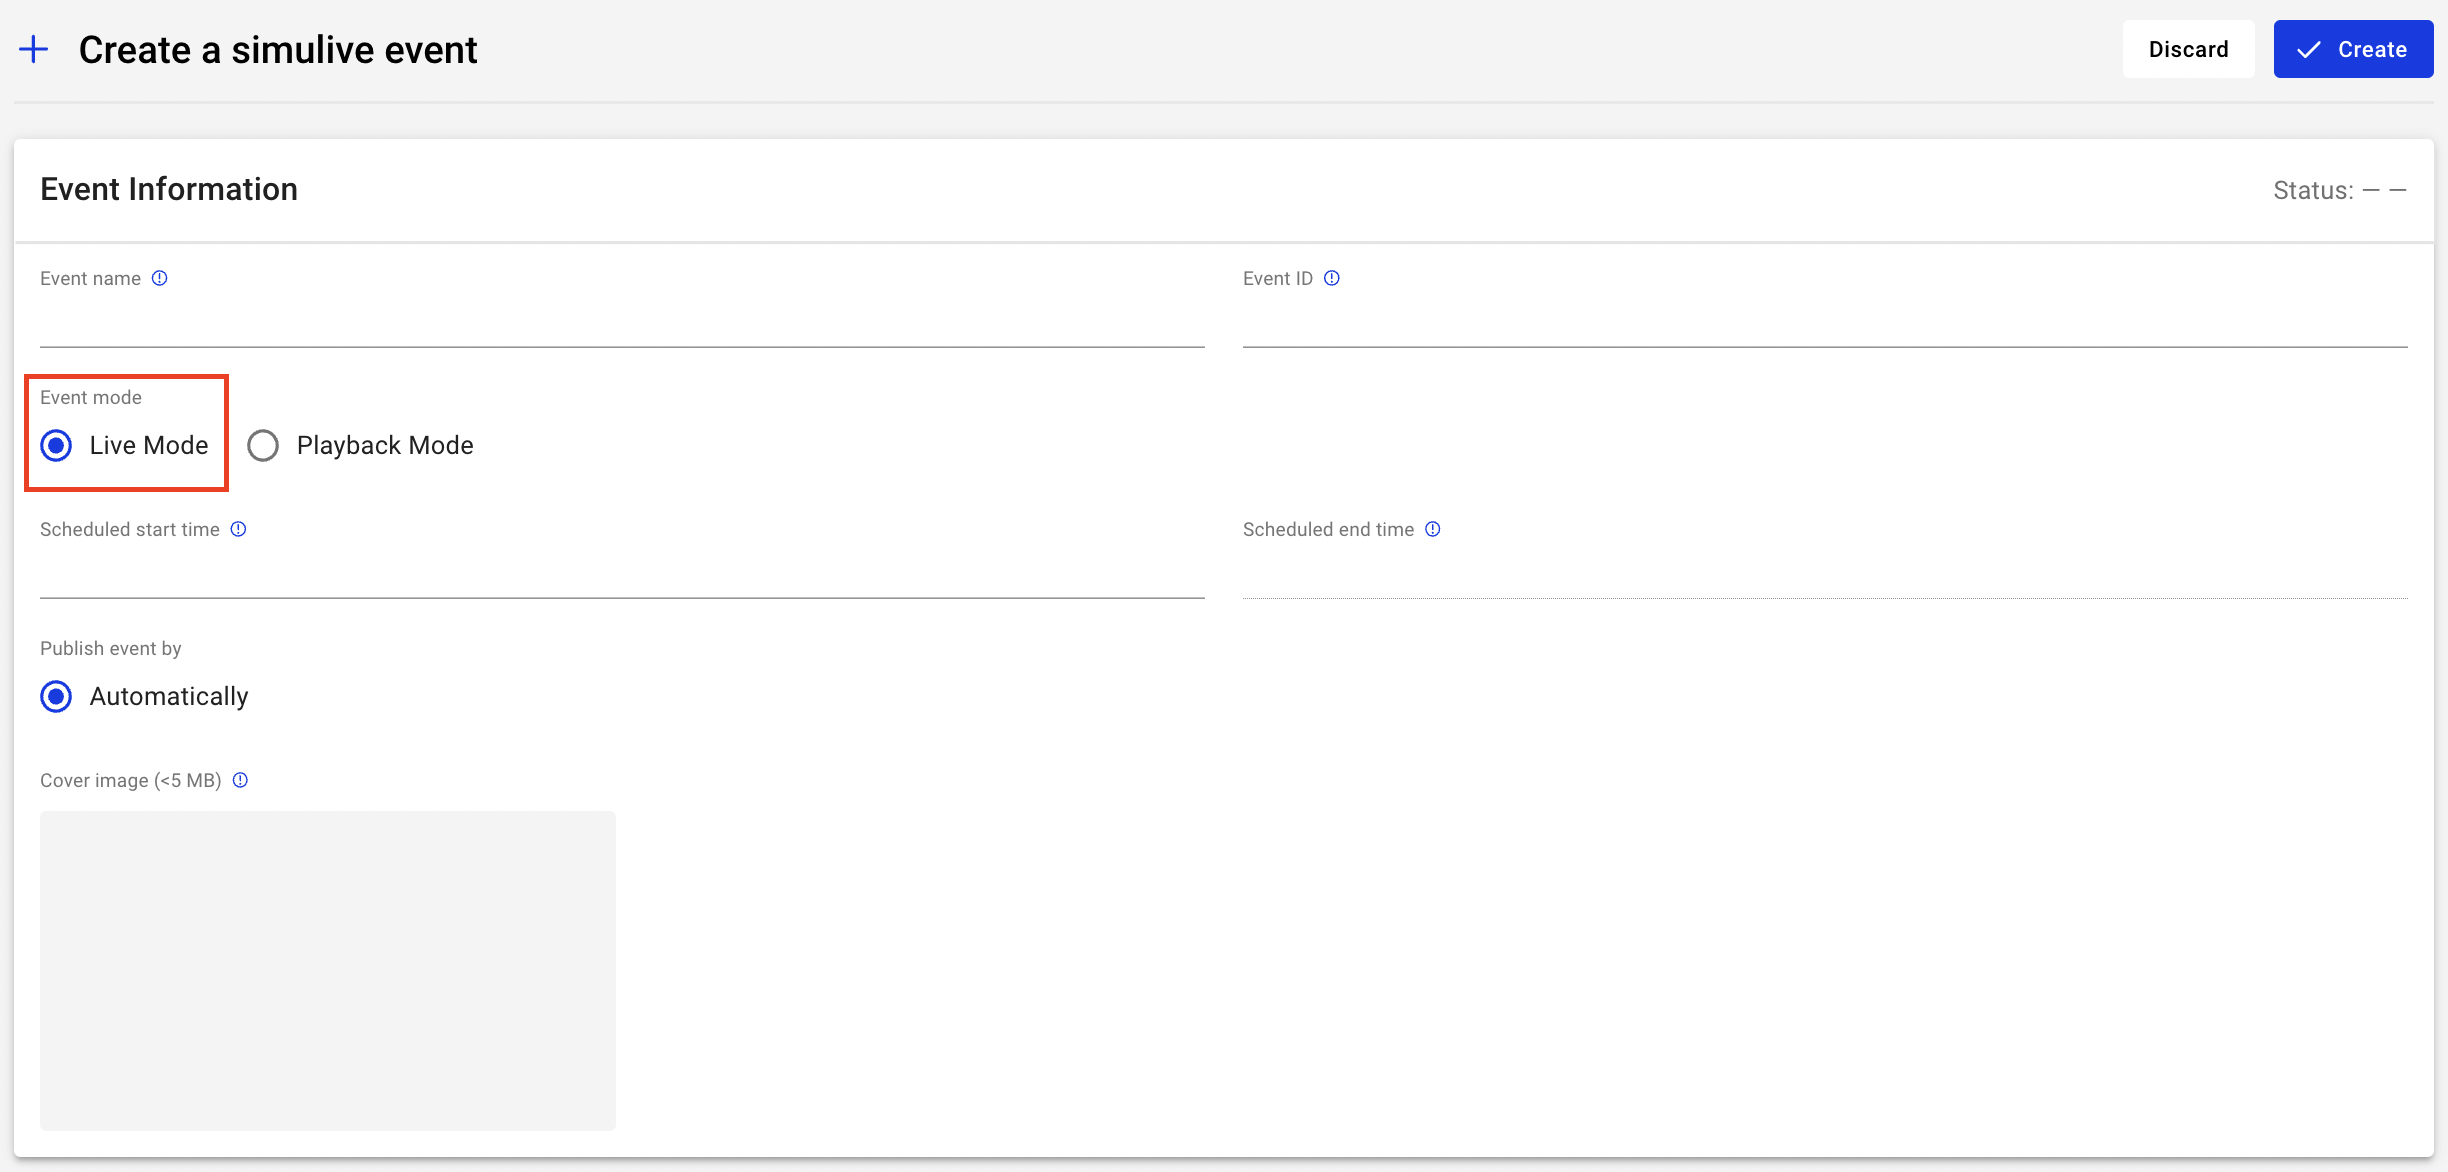
8. Edit event settings, most of the columns are the same as the live event, refer to Create a live event. The following is an introduction to the differences.
- Publish event by Automatically
- Simulive will start at "Scheduled start time" which you set automatically; the event will also end at "Scheduled end time" automatically.
Important: It is highly recommended to add a 30-second opening clip or image as a buffer at the beginning of the video to prevent the audience from missing the beginning due to live streaming latency.
- Scheduled start time:
- simulive start time. The scheduled start time has to be at least 30 mins later than the time you create the event.
- Scheduled end time:
- simulive end time, can't be edited. The scheduled end time is automatically calculated based on the start time plus the length of the video.
Note:
- Scheduled start/end time and video file cannot be edited once a simulive Live mode event is created.
- After the video ends, the player will show a 15 seconds black screen before auto end live.
9. Click "+ Select a file" to choose a video you have uploaded to media management.

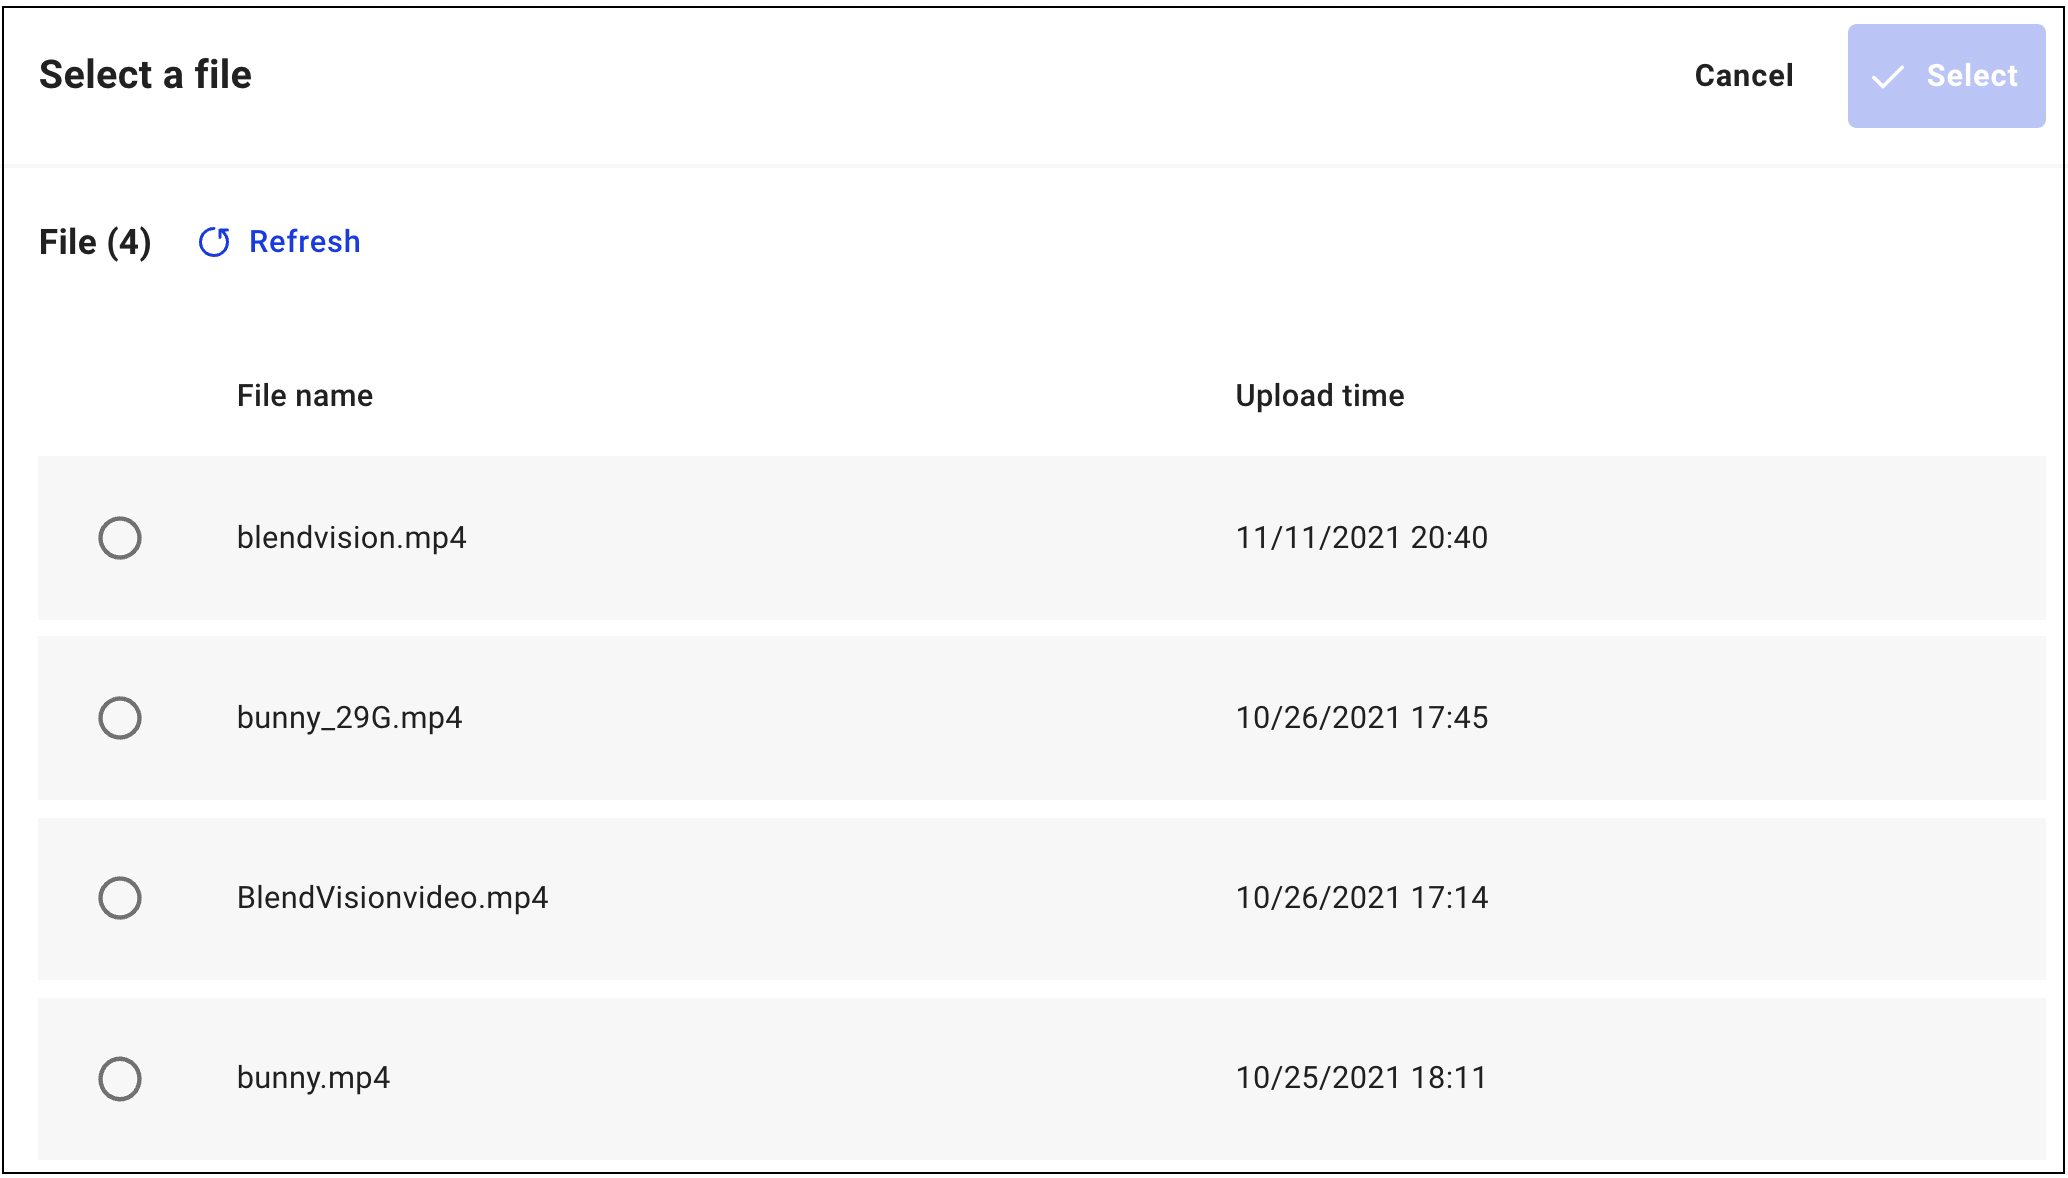
- Click the file name to preview the video to check if it is the correct file.
- Drag the progress bar to confirm the whole video.

10. Chatroom provides real-time interaction service with your users via text, emoji or custom stickers. Mark the checkbox if you want to utilize Chatroom. And once you enable the chatroom feature, you can directly choose the main color of the theme for your chatroom. After that, you would see your chatroom when your live event goes to the preview status.
If you want to provide a VOD session after and the simulive and enable the chatroom feature, you could manage it on the setting of VOD. Once you select Enable recording for VOD, you can set up the source of VOD and chatroom as well. The options of chatroom are as same as live setting, you would see your chatroom when your event goes to the VOD status.
Note:
- Chatroom feature supports both public and private events. But, they are not editable after you creating the event. As a result, set up your chatroom setting before kick-off.
- If you want to know how to manage settings of chatroom, please look into Manage settings of chatroom for more details.
11. You can create a poll to interact with your users during a live event. Poll feature is embedded in KKStream player, and thus if you have integrated KKStream player on your website, the poll feature is included. Mark the checkbox if you want to utilize Poll.
Note:
- Poll feature only supports in live mode of the simulive except for playback mode. You won’t be able to utilize the feature during the VOD period.
- If you want to know how to manage settings of poll, please look into Manage a poll for more details.
12. Click "Create" once you have edited all the required fields.
13. Edit simulive event
Event status of whole process for simulive event : Preparing > Processing > Live > Ended > Archived
There are different event statuses on the Event list to show the current situation. After the event is created, the status will show Preparing until 12 hours before your event starts.
- Scheduled start/end time and video file cannot be edited once simulive event is created.
- Other editable fields, please refer to Edit a live event
During event
Utilize live interaction tools and monitor performance during simulive events, refer to Manage settings of chatroom, Manage a poll, Monitor your live performance for more details.